React 提供了一种声明式的方式来操作用户界面。你不是直接操作用户界面的各个部分,而是描述组件可以处于的不同状态,并根据用户输入在这些状态之间切换。这类似于设计师对用户界面思考的方式。
🌐 React provides a declarative way to manipulate the UI. Instead of manipulating individual pieces of the UI directly, you describe the different states that your component can be in, and switch between them in response to the user input. This is similar to how designers think about the UI.
你将学习到
- 声明式 UI 编程与命令式 UI 编程有何不同
- 如何枚举组件可能处于的不同视觉状态
- 如何从代码中触发不同视觉状态之间的变化
声明式 UI 与命令式 UI 相比如何
🌐 How declarative UI compares to imperative
当你设计用户界面交互时,你可能会考虑用户操作后界面如何变化。考虑一个允许用户提交答案的表单:
🌐 When you design UI interactions, you probably think about how the UI changes in response to user actions. Consider a form that lets the user submit an answer:
- 当你在表单中输入内容时,“提交”按钮会被启用。
- 当你按下“提交”时,表单和按钮**将被禁用,**并且会出现一个旋转图标。
- 如果网络请求成功,表单会被隐藏,“谢谢”消息会出现。
- 如果网络请求失败,会出现错误消息,并且表单会再次被启用。
在命令式编程中,上述内容直接对应于你如何实现交互。你必须编写确切的指令来操作用户界面,取决于刚刚发生了什么。这是另一种思考方式:想象一下你坐在车里和别人并排而行,一边告诉他们每一步该往哪里走。
🌐 In imperative programming, the above corresponds directly to how you implement interaction. You have to write the exact instructions to manipulate the UI depending on what just happened. Here’s another way to think about this: imagine riding next to someone in a car and telling them turn by turn where to go.
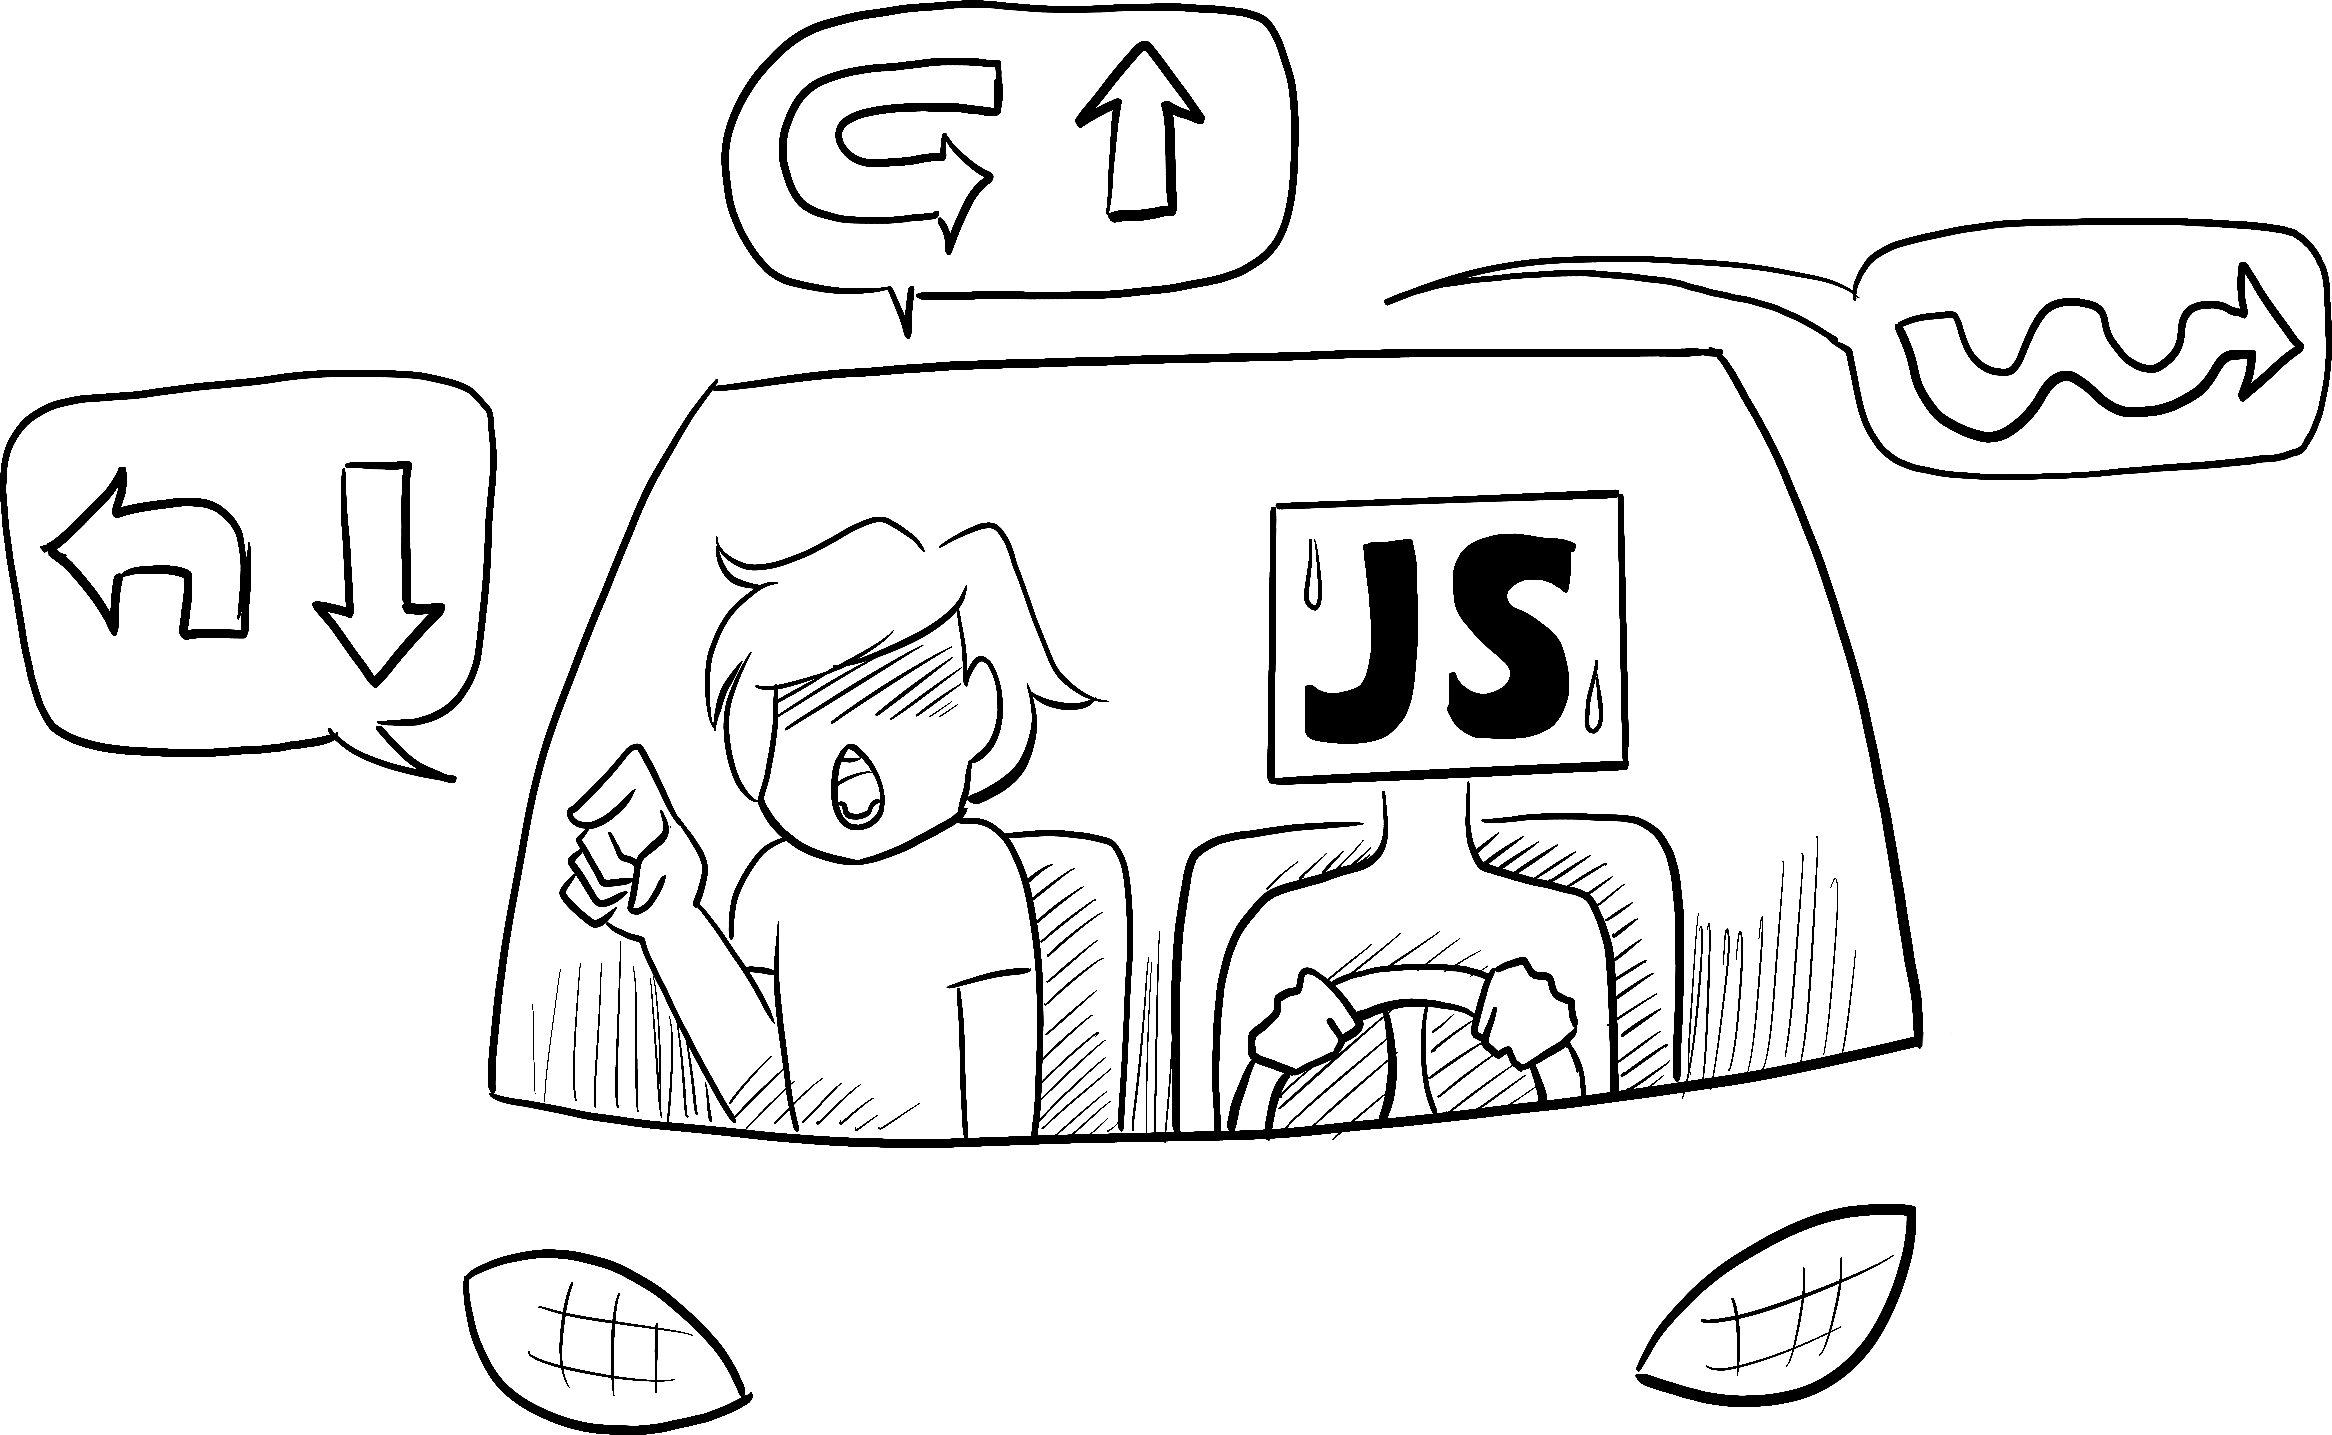
Illustrated by Rachel Lee Nabors
他们不知道你想去哪里,他们只是遵循你的指令。(如果你弄错了方向,你最终会到错误的地方!)它被称为命令式,因为你必须对每个元素发出“命令”,从旋转器到按钮,告诉计算机如何更新用户界面。
🌐 They don’t know where you want to go, they just follow your commands. (And if you get the directions wrong, you end up in the wrong place!) It’s called imperative because you have to “command” each element, from the spinner to the button, telling the computer how to update the UI.
在这个命令式 UI 编程的示例中,表单是在 没有 使用 React 的情况下构建的。它仅使用浏览器的 DOM :
🌐 In this example of imperative UI programming, the form is built without React. It only uses the browser DOM:
async function handleFormSubmit(e) {
  e.preventDefault();
  disable(textarea);
  disable(button);
  show(loadingMessage);
  hide(errorMessage);
  try {
    await submitForm(textarea.value);
    show(successMessage);
    hide(form);
  } catch (err) {
    show(errorMessage);
    errorMessage.textContent = err.message;
  } finally {
    hide(loadingMessage);
    enable(textarea);
    enable(button);
  }
}

function handleTextareaChange() {
  if (textarea.value.length === 0) {
    disable(button);
  } else {
    enable(button);
  }
}

function hide(el) {
  el.style.display = 'none';
}

function show(el) {
  el.style.display = '';
}

function enable(el) {
  el.disabled = false;
}

function disable(el) {
  el.disabled = true;
}

function submitForm(answer) {
  // Pretend it's hitting the network.
  return new Promise((resolve, reject) => {
    setTimeout(() => {
      if (answer.toLowerCase() === 'istanbul') {
        resolve();
      } else {
        reject(new Error('Good guess but a wrong answer. Try again!'));
      }
    }, 1500);
  });
}

let form = document.getElementById('form');
let textarea = document.getElementById('textarea');
let button = document.getElementById('button');
let loadingMessage = document.getElementById('loading');
let errorMessage = document.getElementById('error');
let successMessage = document.getElementById('success');
form.onsubmit = handleFormSubmit;
textarea.oninput = handleTextareaChange;
以命令式方式操作用户界面在孤立的示例中运行得相当好,但在更复杂的系统中管理起来会呈指数级增长地变得困难。想象一下更新一个充满各种表单的页面。添加一个新的用户界面元素或新的交互将需要仔细检查所有现有代码,以确保你没有引入错误(例如,忘记显示或隐藏某些东西)。
🌐 Manipulating the UI imperatively works well enough for isolated examples, but it gets exponentially more difficult to manage in more complex systems. Imagine updating a page full of different forms like this one. Adding a new UI element or a new interaction would require carefully checking all existing code to make sure you haven’t introduced a bug (for example, forgetting to show or hide something).
React 就是为了解决这个问题而生的。
🌐 React was built to solve this problem.
在 React 中,你不会直接操作 UI——也就是说,你不会直接启用、禁用、显示或隐藏组件。相反,你 声明你想要展示的内容,然后 React 会决定如何更新 UI。可以把它想象成你上了一辆出租车,告诉司机你想去的地方,而不是告诉他们具体该往哪转。到达目的地是司机的工作,他们甚至可能知道一些你没考虑过的捷径!
🌐 In React, you don’t directly manipulate the UI—meaning you don’t enable, disable, show, or hide components directly. Instead, you declare what you want to show, and React figures out how to update the UI. Think of getting into a taxi and telling the driver where you want to go instead of telling them exactly where to turn. It’s the driver’s job to get you there, and they might even know some shortcuts you haven’t considered!
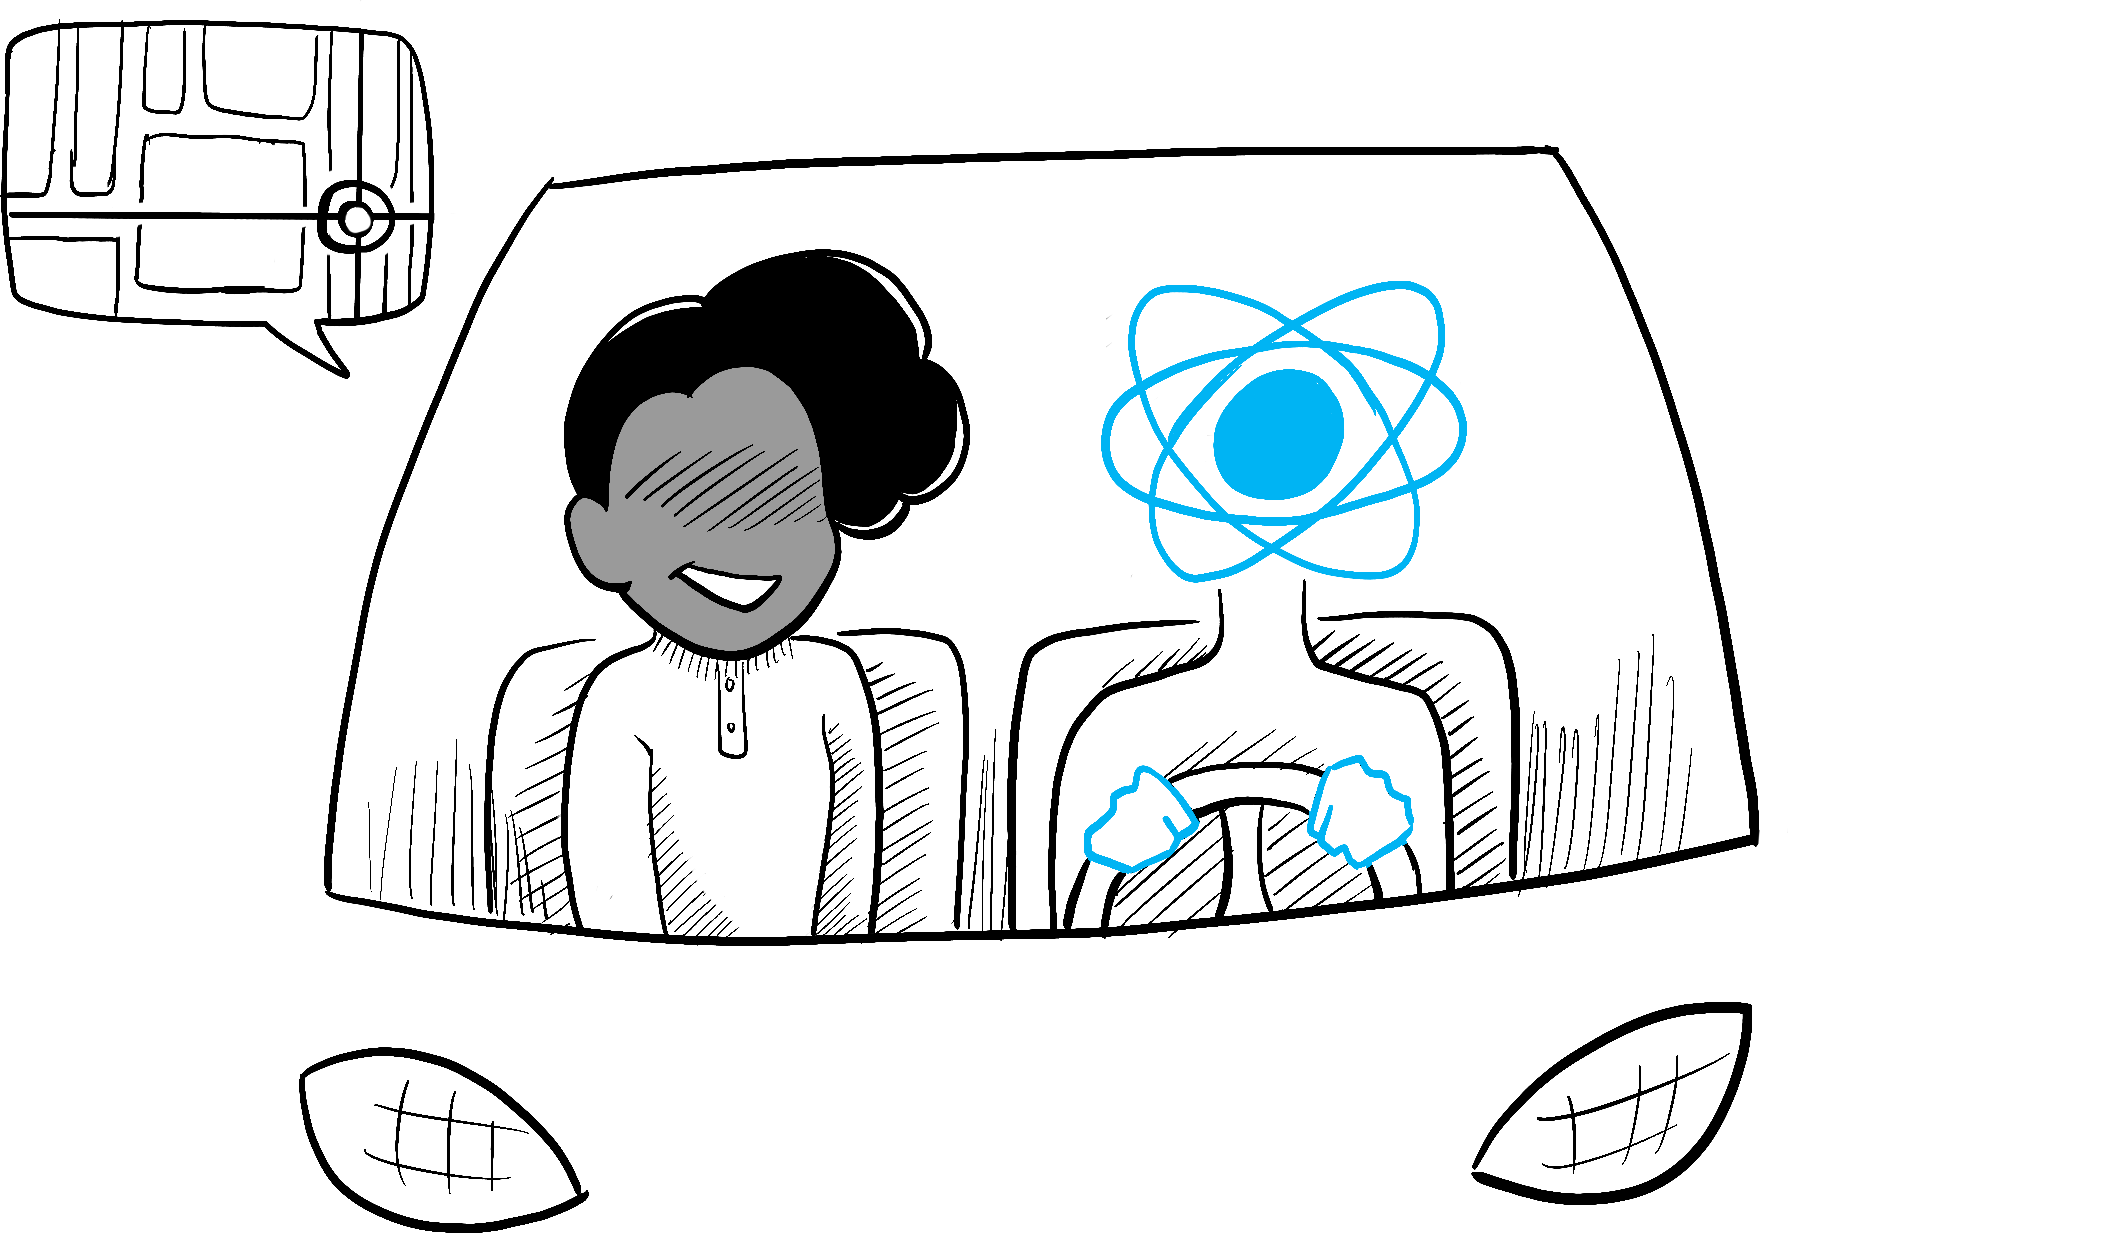
Illustrated by Rachel Lee Nabors
以声明方式思考 UI
🌐 Thinking about UI declaratively
你已经看到了如何以上述命令式方式实现一个表单。为了更好地理解如何在 React 中思考,你将下面步步演示在 React 中重新实现这个 UI:
🌐 You’ve seen how to implement a form imperatively above. To better understand how to think in React, you’ll walk through reimplementing this UI in React below:
- 识别你组件的不同视觉状态
- 确定是什么触发了那些状态变化
- 使用
useState表示内存中的状态 - 删除任何非必要的状态变量
- 连接事件处理程序以设置状态
步骤 1:识别组件的不同视觉状态
🌐 Step 1: Identify your component’s different visual states
在计算机科学中,你可能会听到关于“状态机”处于若干“状态”之一的说法。如果你和设计师一起工作过,你可能见过不同“视觉状态”的模型。React 位于设计与计算机科学的交汇处,因此这两种理念都是灵感的来源。
🌐 In computer science, you may hear about a “state machine” being in one of several “states”. If you work with a designer, you may have seen mockups for different “visual states”. React stands at the intersection of design and computer science, so both of these ideas are sources of inspiration.
首先,你需要可视化用户可能看到的界面的所有不同“状态”:
🌐 First, you need to visualize all the different “states” of the UI the user might see:
- 空:表单的“提交”按钮被禁用。
- 输入:表单启用了“提交”按钮。
- 提交中:表单已完全禁用。显示加载动画。
- 成功: 显示“谢谢”消息而不是表单。
- 错误:与输入状态相同,但附加了一个错误消息。
就像设计师一样,你会想要在添加逻辑之前,为不同的状态“制作原型”或创建“原型”。例如,下面是仅针对表单视觉部分的原型。这个原型由一个名为 status 的属性控制,默认值为 'empty':
🌐 Just like a designer, you’ll want to “mock up” or create “mocks” for the different states before you add logic. For example, here is a mock for just the visual part of the form. This mock is controlled by a prop called status with a default value of 'empty':
export default function Form({
  status = 'empty'
}) {
  if (status === 'success') {
    return <h1>That's right!</h1>
  }
  return (
    <>
      <h2>City quiz</h2>
      <p>
        In which city is there a billboard that turns air into drinkable water?
      </p>
      <form>
        <textarea />
        <br />
        <button>
          Submit
        </button>
      </form>
    </>
  )
}
你可以将那个 prop 命名为任何你喜欢的名称,命名并不重要。尝试将 status = 'empty' 修改为 status = 'success',看看成功信息是否出现。Mocking 让你在连接任何逻辑之前快速迭代 UI。下面是同一组件的一个更完整的原型,仍然由 status prop“控制”:
🌐 You could call that prop anything you like, the naming is not important. Try editing status = 'empty' to status = 'success' to see the success message appear. Mocking lets you quickly iterate on the UI before you wire up any logic. Here is a more fleshed out prototype of the same component, still “controlled” by the status prop:
export default function Form({
  // Try 'submitting', 'error', 'success':
  status = 'empty'
}) {
  if (status === 'success') {
    return <h1>That's right!</h1>
  }
  return (
    <>
      <h2>City quiz</h2>
      <p>
        In which city is there a billboard that turns air into drinkable water?
      </p>
      <form>
        <textarea disabled={
          status === 'submitting'
        } />
        <br />
        <button disabled={
          status === 'empty' ||
          status === 'submitting'
        }>
          Submit
        </button>
        {status === 'error' &&
          <p className="Error">
            Good guess but a wrong answer. Try again!
          </p>
        }
      </form>
      </>
  );
}
深入研究
🌐 Displaying many visual states at once
如果一个组件有很多视觉状态,将它们全部显示在一个页面上会很方便:
🌐 If a component has a lot of visual states, it can be convenient to show them all on one page:
import Form from './Form.js';

let statuses = [
  'empty',
  'typing',
  'submitting',
  'success',
  'error',
];

export default function App() {
  return (
    <>
      {statuses.map(status => (
        <section key={status}>
          <h4>Form ({status}):</h4>
          <Form status={status} />
        </section>
      ))}
    </>
  );
}
像这样的页面通常被称为“活文档风格指南”或“故事书”。
🌐 Pages like this are often called “living styleguides” or “storybooks”.
步骤 2:确定导致这些状态变化的触发因素
🌐 Step 2: Determine what triggers those state changes
你可以触发状态更新以响应两种输入:
🌐 You can trigger state updates in response to two kinds of inputs:
- **人类输入,**例如点击按钮、在输入框中输入内容、导航链接。
- **计算机输入,**例如网络响应到达、超时完成、图片加载。

Illustrated by Rachel Lee Nabors
在这两种情况下,你必须设置state variables 来更新 UI。 对于你正在开发的表单,你需要根据几个不同的输入来更改状态:
🌐 In both cases, you must set state variables to update the UI. For the form you’re developing, you will need to change state in response to a few different inputs:
- 更改文本输入(人工)应将其从空状态切换到输入状态,或根据文本框是否为空切换回去。
- 点击提交按钮(人工)应该将其切换到提交中状态。
- 成功的网络响应(计算机)应将其切换到成功状态。
- 网络响应失败(计算机)应将其切换到具有匹配错误消息的错误状态。
为了帮助可视化这个流程,试着在纸上将每个状态画成标记的圆圈,并将两个状态之间的变化画成箭头。你可以通过这种方式画出许多流程,并在实现之前很久就排查出错误。
🌐 To help visualize this flow, try drawing each state on paper as a labeled circle, and each change between two states as an arrow. You can sketch out many flows this way and sort out bugs long before implementation.


表格状态
🌐 Form states
步骤 3:用 useState 在内存中表示状态
🌐 Step 3: Represent the state in memory with useState
接下来,你需要在内存中用 useState. 表示你的组件的视觉状态。简单性是关键:每一个状态部分都是一个“活动部分”,而你希望尽可能少的“活动部分”。 更多的复杂性会导致更多的错误!
🌐 Next you’ll need to represent the visual states of your component in memory with useState. Simplicity is key: each piece of state is a “moving piece”, and you want as few “moving pieces” as possible. More complexity leads to more bugs!
从绝对必须存在的状态开始。例如,你需要存储输入的 answer,以及 error(如果存在)来存储最后一个错误:
🌐 Start with the state that absolutely must be there. For example, you’ll need to store the answer for the input, and the error (if it exists) to store the last error:
const [answer, setAnswer] = useState('');
const [error, setError] = useState(null);
然后,你需要一个状态变量来表示你想要显示的哪个视觉状态。通常在内存中表示它的方法不止一种,所以你需要进行尝试。
🌐 Then, you’ll need a state variable representing which one of the visual states that you want to display. There’s usually more than a single way to represent that in memory, so you’ll need to experiment with it.
如果你一时想不出最好的方法,可以先添加足够的状态,让你完全确定所有可能的视觉状态都已涵盖:
🌐 If you struggle to think of the best way immediately, start by adding enough state that you’re definitely sure that all the possible visual states are covered:
const [isEmpty, setIsEmpty] = useState(true);
const [isTyping, setIsTyping] = useState(false);
const [isSubmitting, setIsSubmitting] = useState(false);
const [isSuccess, setIsSuccess] = useState(false);
const [isError, setIsError] = useState(false);
你的第一个想法可能不是最好的,但没关系 - 重构状态是过程的一部分!
🌐 Your first idea likely won’t be the best, but that’s ok—refactoring state is a part of the process!
步骤 4:移除任何非必要的状态变量
🌐 Step 4: Remove any non-essential state variables
你想避免状态内容的重复,这样你只跟踪必要的内容。花一点时间重构你的状态结构会让你的组件更易于理解,减少重复,并避免产生意外的含义。你的目标是防止内存中的状态不代表任何你希望用户看到的有效 UI 的情况。(例如,你永远不希望同时显示错误信息并禁用输入,否则用户将无法纠正错误!)
🌐 You want to avoid duplication in the state content so you’re only tracking what is essential. Spending a little time on refactoring your state structure will make your components easier to understand, reduce duplication, and avoid unintended meanings. Your goal is to prevent the cases where the state in memory doesn’t represent any valid UI that you’d want a user to see. (For example, you never want to show an error message and disable the input at the same time, or the user won’t be able to correct the error!)
以下是你可以询问的有关状态变量的一些问题:
🌐 Here are some questions you can ask about your state variables:
- 这种状态会引起悖论吗? 例如,
isTyping和isSubmitting不能同时为true。悖论通常意味着该状态的约束条件不够。两个布尔值有四种可能的组合,但只有三种对应有效状态。为了消除“不可能”的状态,你可以将它们组合成一个status,其值必须是三者之一:'typing'、'submitting'或'success'。 - 相同的信息已经在另一个状态变量中存在了吗? 另一个悖论:
isEmpty和isTyping不可能同时是true。通过将它们设为独立的状态变量,你有可能导致它们不同步并引发错误。幸运的是,你可以移除isEmpty,改为检查answer.length === 0。 - 你能从另一个状态变量的逆得到相同的信息吗?
isError不需要,因为你可以改为检查error !== null。
在这次清理之后,你会剩下 3 个(从 7 个下降!)关键状态变量:
🌐 After this clean-up, you’re left with 3 (down from 7!) essential state variables:
const [answer, setAnswer] = useState('');
const [error, setError] = useState(null);
const [status, setStatus] = useState('typing'); // 'typing', 'submitting', or 'success'
你知道它们是必不可少的,因为你不能在不破坏功能的情况下删除它们中的任何一个。
🌐 You know they are essential, because you can’t remove any of them without breaking the functionality.
深入研究
🌐 Eliminating “impossible” states with a reducer
这三个变量足以很好地表示这个表单的状态。然而,仍然存在一些中间状态,它们并不完全合理。例如,当 status 是 'success' 时,非空 error 就没有意义。为了更精确地建模状态,你可以将其提取到 reducer 中。Reducer 允许你将多个状态变量统一到一个对象中,并整合所有相关的逻辑!
🌐 These three variables are a good enough representation of this form’s state. However, there are still some intermediate states that don’t fully make sense. For example, a non-null error doesn’t make sense when status is 'success'. To model the state more precisely, you can extract it into a reducer. Reducers let you unify multiple state variables into a single object and consolidate all the related logic!
步骤 5:连接事件处理程序以设置状态
🌐 Step 5: Connect the event handlers to set state
最后,创建更新状态的事件处理程序。以下是最终表单,所有事件处理程序都已连接起来:
🌐 Lastly, create event handlers that update the state. Below is the final form, with all event handlers wired up:
import { useState } from 'react';

export default function Form() {
  const [answer, setAnswer] = useState('');
  const [error, setError] = useState(null);
  const [status, setStatus] = useState('typing');

  if (status === 'success') {
    return <h1>That's right!</h1>
  }

  async function handleSubmit(e) {
    e.preventDefault();
    setStatus('submitting');
    try {
      await submitForm(answer);
      setStatus('success');
    } catch (err) {
      setStatus('typing');
      setError(err);
    }
  }

  function handleTextareaChange(e) {
    setAnswer(e.target.value);
  }

  return (
    <>
      <h2>City quiz</h2>
      <p>
        In which city is there a billboard that turns air into drinkable water?
      </p>
      <form onSubmit={handleSubmit}>
        <textarea
          value={answer}
          onChange={handleTextareaChange}
          disabled={status === 'submitting'}
        />
        <br />
        <button disabled={
          answer.length === 0 ||
          status === 'submitting'
        }>
          Submit
        </button>
        {error !== null &&
          <p className="Error">
            {error.message}
          </p>
        }
      </form>
    </>
  );
}

function submitForm(answer) {
  // Pretend it's hitting the network.
  return new Promise((resolve, reject) => {
    setTimeout(() => {
      let shouldError = answer.toLowerCase() !== 'lima'
      if (shouldError) {
        reject(new Error('Good guess but a wrong answer. Try again!'));
      } else {
        resolve();
      }
    }, 1500);
  });
}
尽管这段代码比原来的命令式示例更长,但它要稳健得多。将所有交互表示为状态变化使你以后可以引入新的视觉状态而不会破坏现有状态。这也让你可以更改每个状态下应显示的内容,而无需更改交互逻辑本身。
🌐 Although this code is longer than the original imperative example, it is much less fragile. Expressing all interactions as state changes lets you later introduce new visual states without breaking existing ones. It also lets you change what should be displayed in each state without changing the logic of the interaction itself.
回顾
- 声明式编程意味着为每个视觉状态描述 UI,而不是对 UI 进行微观管理(命令式)。
- 开发组件时:
- 识别其所有视觉状态。
- 确定状态变化的人工和电脑触发。
- 使用
useState建模该状态。 - 删除非必要状态以避免错误和悖论。
- 连接事件处理程序以设置状态。
挑战 1 of 3: 添加和删除 CSS 类
🌐 Add and remove a CSS class
使得点击图片时移除外部 <div> 的 background--active CSS 类,但添加 <img> 的 picture--active 类。再次点击背景应恢复原始的 CSS 类。
🌐 Make it so that clicking on the picture removes the background--active CSS class from the outer <div>, but adds the picture--active class to the <img>. Clicking the background again should restore the original CSS classes.
从视觉上看,你应该预期点击图片会移除紫色背景并高亮图片边框。点击图片外的区域会高亮背景,但会移除图片边框的高亮。
🌐 Visually, you should expect that clicking on the picture removes the purple background and highlights the picture border. Clicking outside the picture highlights the background, but removes the picture border highlight.
export default function Picture() {
  return (
    <div className="background background--active">
      <img
        className="picture"
        alt="Rainbow houses in Kampung Pelangi, Indonesia"
        src="https://react.nodejs.cn/images/docs/scientists/5qwVYb1.jpeg"
      />
    </div>
  );
}